


WEEK 4 - It's the final stretch, you got this!
Perfect line + mapping challenge! Keep honing those fine motor skills and your understanding of lash layers with this next one. You will need to follow standard "Perfect Line" techniques for this, where the lengths are determined based on the layer of the lash line you are placing the fan on. This is what we need to see from you:

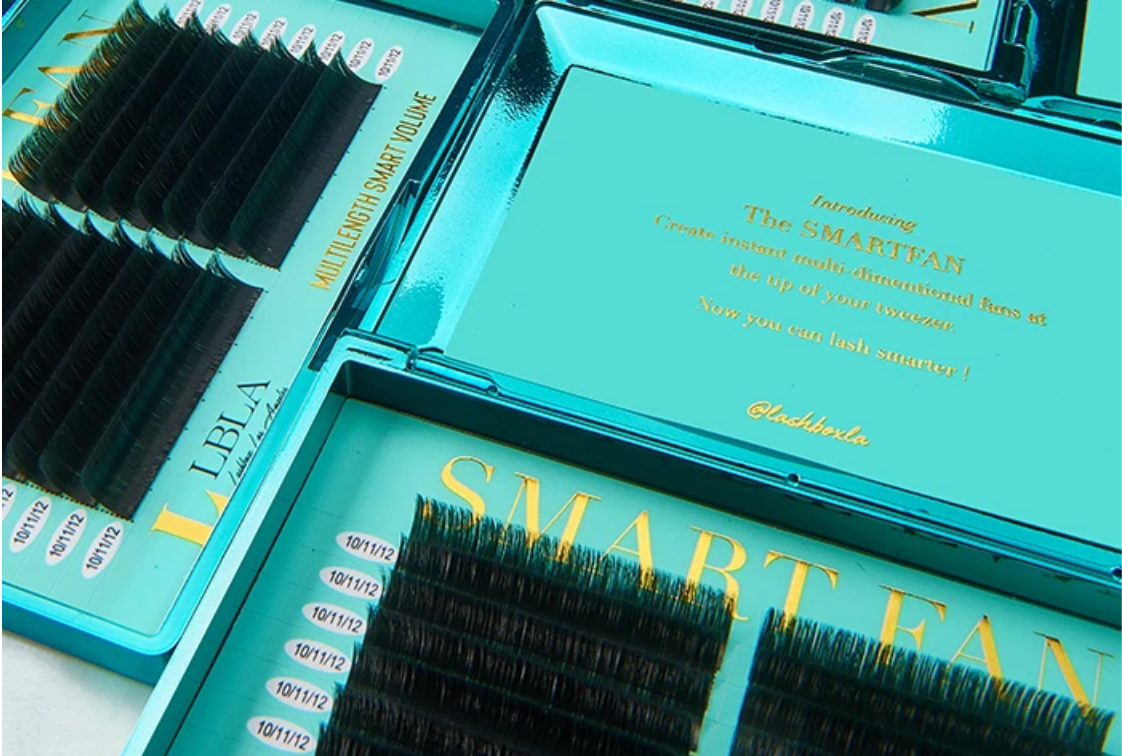
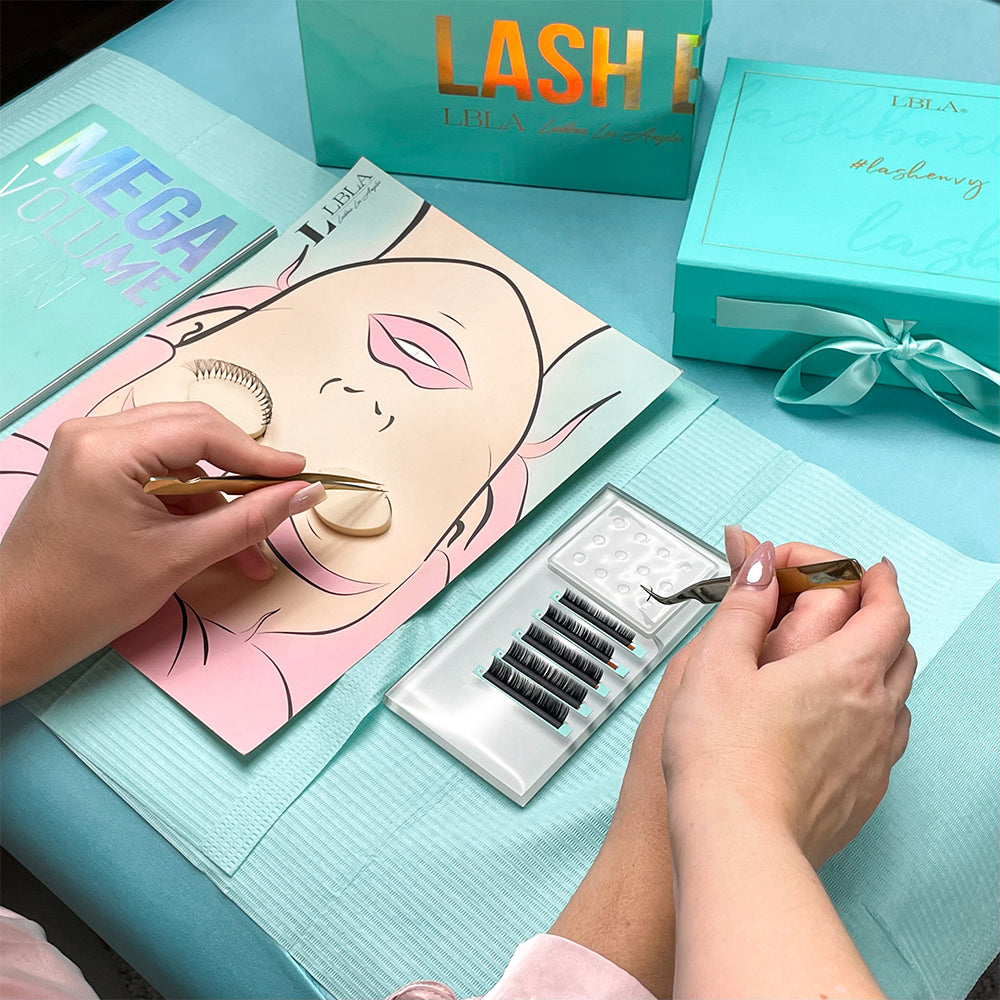
What you will need: A flat circular sponge (if possible), Volume lashes or mega volume lashes, your favourite volume tweezer, adhesive, patience.
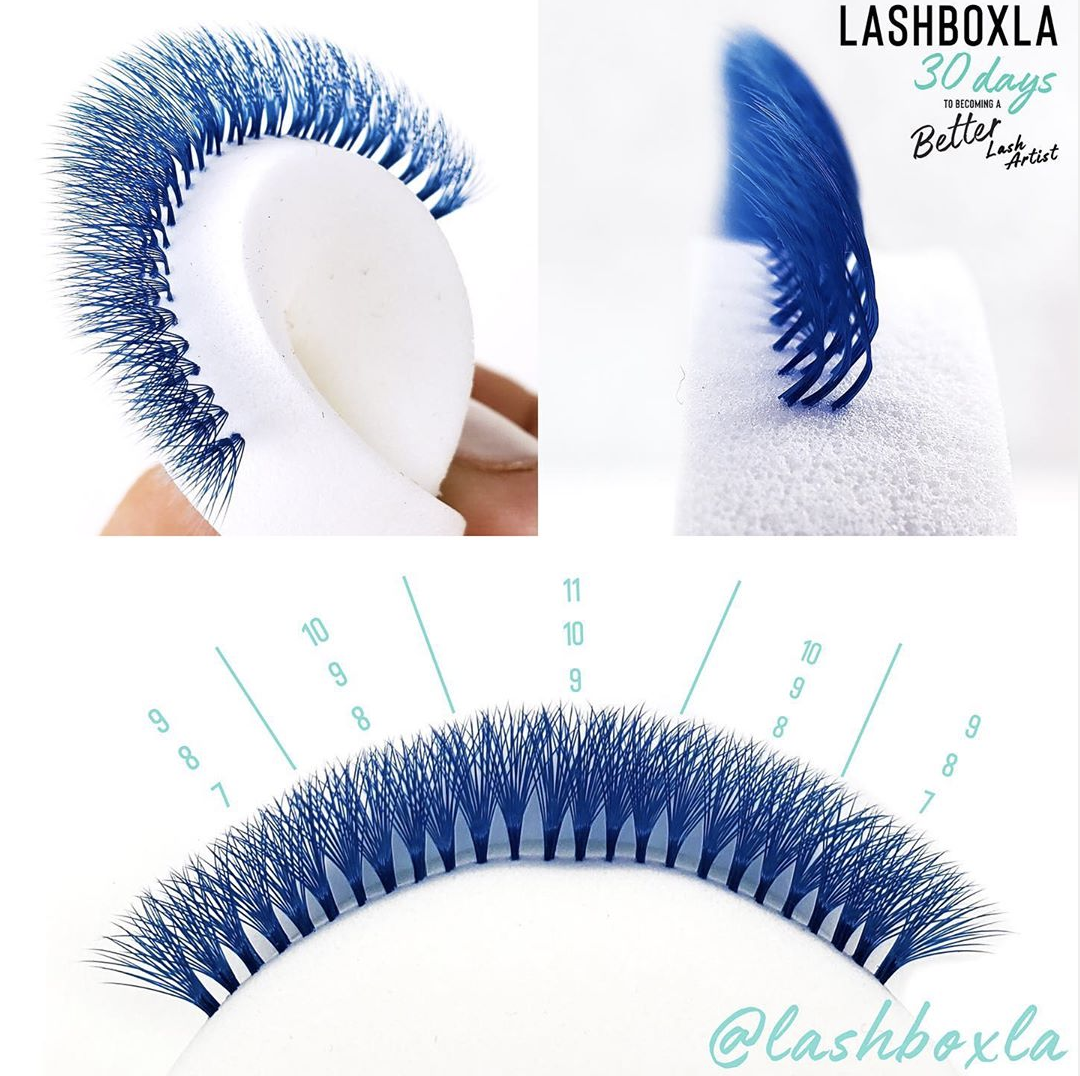
- Draw a basic lash map on paper or foam tape, using the side of the sponge as a guide for your "lid." Determine what your longest lengths along the lash line are going to be- this will be your bottom layer. Keep in mind, that for each section of the map, you will need lash lengths both 1 and 2mm shorter to complete this challenge.
- Apply lashes at the very base of the fan, onto the SIDE of a makeup sponge in one layer. (See photo for example)
- Add the middle layer of your lash map - each of the sections in this layer should be 1mm shorter than then the lashes in each section of your bottom layer.
- Apply middle layer lashes in one line, 1mm above where the bottom layer lashes were placed.
- Add the top layer of your lash map - each of the sections in this layer should be 1mm shorter than the lashes in the middle layer, and 2mm shorter than the bottom layer.
- Apply the top layer, 1mm above the middle layer.
- Marvel at how easy (and hard!) it was to apply a perfect top line! We know that sponges don't take the place of natural differences in a lash line, but this challenge will help you understand the concept and placement skills it takes to create a top line like this.
Good luck, and be sure to tag @lashboxla_australia with the hashtag #lblalevelupau.