


Working with coloured lashes can be so amazing and fun! (Why do you think we have come out with so many at Lashbox LA?! They are some of my favourites!) While playing with colour can be exhilarating, there are some basic rules that need to be followed in order to ensure we end up with the result we are looking for, and not some kind of madness we want removed before our client walks out through that door. I break them down into two categories: lashes for them, and lashes for you. Let me explain.
“Lashes for them”

These are lashes for our clients who want a hint, pop, or subtle splash of colour. They are looking to be adventurous and are willing to trust you with their aesthetic. Woohoo, time to play! We need to remember now that for a client to wear lashes like this and still be flattering, they need to still have a dark brown or black look at the base to line the shape of their eye and remain flattering for an everyday look.
Option 1. Ombre lashes all the way. This is the easiest way to introduce color to a client! Whether it is a full set or a fill, most ombre lashes stick to dark black or brown at the base, and fade into a colourful tip. They are much more subtle than a stark stripe of colour introduced through a whole section of the lash line, and will wear like standard black lashes unless in bright or direct light. They’re like a fabulous little secret and the colour doesn’t take over their look at any time of the day or night. My suggestions here are our Mermaid ombre lashes (black, with either blue, purple, or green tips!) or our Safari ombre lashes (a dark chocolate brown fading to a wide variety of colours inspired by the Serengeti sunset.)
Option 2. Use any colour of lashes your client desires - go (a little) wild if you like, they won’t overtake the face this way! Create your lash map using black lashes of your choice in volume or mega volume and cover the middle and bottom layers of lashes. Finish the set by putting fans of a single colour on the whole top layer, reducing the length of each section of the may by 1mm. This way your client will see her deep, dark lash line when she looks in the mirror, but with the added flirtiness of others seeing that bold colour when she looks down or blinks. A great way for you to get your clients ready for spring, summer, autumn, or any holiday or event of the year. Our Unicorn or Flamingo lashes have been my go-tos for solid colours lately!
Option 3. “Highlights” Use a mix of colours throughout the middle lash layers, ensuring you keep the top and bottom layers black. With whatever map you choose, this will add extra dimension to the density of the lash line, and create a beautiful, and still subtle effect for every day. My recommendation here? Kitten Wisp lashes all day long.
“Lashes for you”
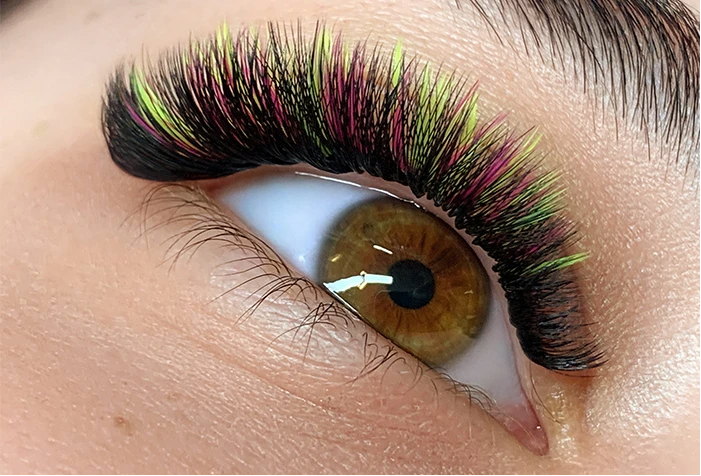
This is artistic work specifically for your portfolio, or for the craziest of our clients (who are secretly our favourites ;) We can choose any colour, vibrancy, or combinations and it is all a go, but we still want them to be flattering, professional, and let’s be real- as clean and perfect as they can be. This is my advice:
Choose 2 or 3 colours of lashes. Black can still be one of the colours if you like, but try to choose colours that flatter and help define the beauty of your model. For example, if she has warm undertones and eye colour, choose lashes that are within that colour family, and the same applies for cool tones and neutral colours. This step is particularly important, so take time to examine her eye colour and skin tone, and consult with her about makeup colours that are usually flattering to her. A safety net here is going with the same colour family as her natural eye colour.
Option 1. For a clean, bold look, divide the lash layers into two or three sections. Use one main colour on each section. For example, green lashes on the inner ⅓, blue lashes in the middle ⅓, and purple lashes on the outer ⅓. If you want to keep that liner look you can still use black lashes on the lowest layer.
Option 2. For a strong, multidimensional look, choose two to three colours and, for example, apply 3 green fans next to 3 blue fans, and alternate across the whole lash line. Again, if you want a dark lash line, use black lashes along the lowest layer. Just be careful to lash the lowers until they are 100% full or you will risk creating a visible gap in the lash line.
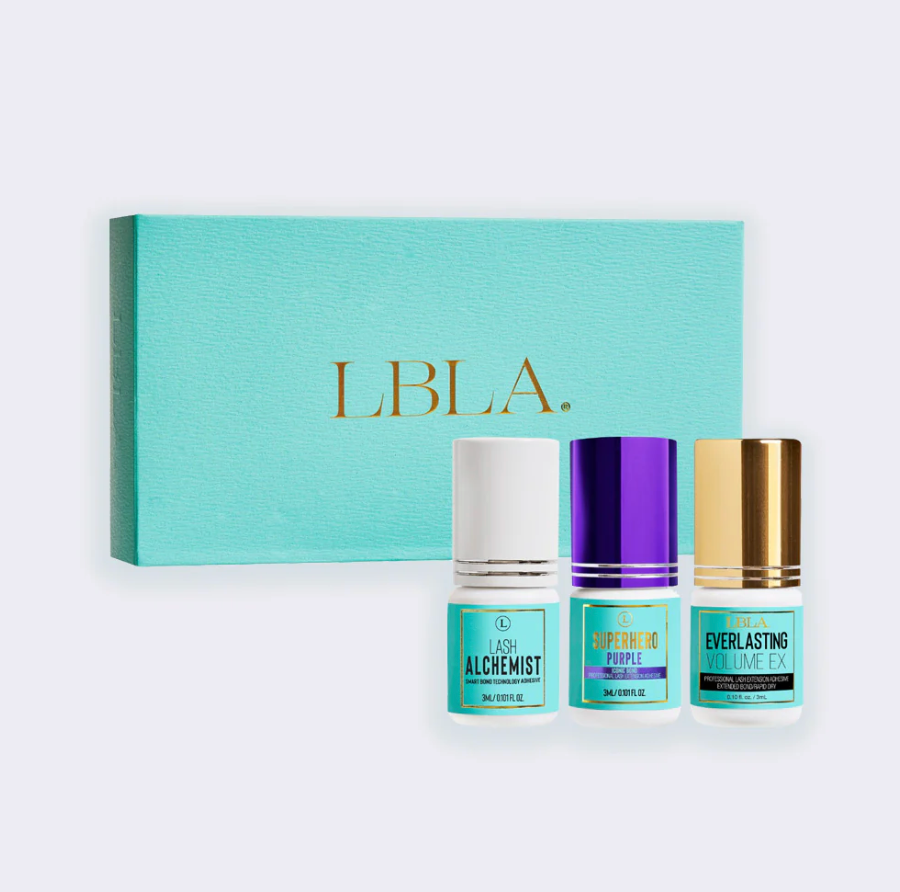
Some rules to help you through: When working with coloured lashes you need extra volume for them to really be visible. If applying a black lower layer using 0.07 lashes these can be 3D, but the colours added need to be 5D. If using 0.06, the black lower layer should be at least 5D with the colours 7D+. Mega volume lashes don’t have these basic diameter rules because the fans will be visible either way. Use clear glue for clean, seamless work that keeps the lashes their true, vibrant colour from base to tip, or use black glue if you are working to achieve a deep lash line or liner affect.
If you want to create colourful lashes without too much thinking about mixing colours and lashing layers, Kitten Wisp lashes are your go-to. You can apply them for all lash layers, or just the top, whatever works best for you!
Creating a full, beautiful set of coloured lashes is for sure for advanced lash artists. You have to not only think through each layer, diameter, and fan width, but also reach for the right colour at the right time, and stick solidly to your mapping. Any and all of these looks will turn out the best if you can place lashes consistently half a millimetre away from the lash line. That’s it from me for now! Just remember, while these types of sets can be daunting, we all could use an extra challenge now and then, and a little colour in our lives!
Love,
Sylwia
VP of Product Development
Master Trainer
Lash Box LA